Working with Node Clients
In this tutorial, we will explore how to use soundworks to create clients that run within a Node.js process, opening new possibilities for creating applications outside Web Browsers.
Indeed, this functionality enables to work with screen less embedded hardware, such as the Raspberry Pi, which allows us to access some functionalities (e.g. control a motor or a LED) which are hard or impossible to achieve in the sandboxed environment that are Web browsers.
To illustrate this possibility and discover some of the tools you have at hand to help you, we will build a very simple application where a browser controller client can trigger a sound synthesized by another client running in a Node.js process.
The final source code of this tutorial can be found here
Related Documentation
Scaffolding Application
Let's start as usual with scaffolding our application:
cd path/to/tutorials
npx @soundworks/create@latest node-clients
When the wizard asks you for plugins and libraries, just select the @ircam/sc-components and node-web-audio-api libraries:
# Install plugins
✔ Select the plugins you would like to install/uninstall ›
+ nothing to do, aborting...

# Install libraries
? Select the libraries you would like to install/uninstall › - Space to select. Return to submit
◉   @ircam/sc-components
◯   @ircam/sc-scheduling
◯   @ircam/sc-utils
◉   node-web-audio-api
INFO
The node-web-audio-api package provides an implementation of the Web Audio API specification written in the Rust language to be used in Node.js programs.
For those who might be interested in using the library directly in a Rust project, see web-audio-api-rs
Then when the wizard asks you to create the default client, let's just create a browser client with the "controller" template (we will create our Node.js client later in the tutorial):
# Create client
✔ Name of your new client (lowercase, no-space): … controller
✔ Which runtime for your client? › browser
✔ Which template would you like to use? › controller

- Creating client "controller" in file "src/clients/controller.js"
- name: controller
- runtime: browser
- template: controller
- default: true

✔ Confirm? … no / yes
Then let's jump into the directory and start our application:
cd node-clients
npm run dev
Implementing the controller
Before implementing our Node.js client, let's use the features we have learned so far so that we can trigger a sound on any of our future Node.js clients through the controller interface.
Let's thus start with defining a shared state class, we will call thing, that will be created by each of our Node.js clients when they connect to the application.
// src/server.js
const server = new Server(config);
configureHttpRouter(server);

server.stateManager.defineClass('thing', {
  id: {
    type: 'integer',
    default: null,
    nullable: true,
  },
  triggerSound: {
    type: 'boolean',
    event: true,
  },
});
And that's everything we have to do on the server side!
Let's then create our control interface. First, we need to grab a collection of our "thing" shared states:
// src/clients/controller.js
await client.start();

const thingCollection = await client.stateManager.getCollection('thing');
// update GUI when any changes in the collection occurs
thingCollection.onChange(() => renderApp());
Then. let's modify the renderApp function to show a simple graphical control interface for each thing state in the collection:
function renderApp() {
  render(html`
    <div class="controller-layout">
      <header>
        <h1>${client.config.app.name} | ${client.role}</h1>
        <sw-audit .client="${client}"></sw-audit>
      </header>
      <section>
        <p>Hello ${client.config.app.name}!</p> // [!code --]
        ${thingCollection.map(thing => {
          return html` // [!code ++]
            <div> // [!code ++]
              <sc-text>${thing.get('id')}</sc-text> // [!code ++]
              <sc-button // [!code ++]
                @input=${e => thing.set({ triggerSound: true })}
              >trigger sound</sc-button> // [!code ++]
            </div> // [!code ++]
          `;
        })}
      </section>
    </div>
  `, $container);
}
Of course if you launch the controller (http://127.0.0.1:8000/) right now, the screen will be empty as we don't have any thing state in our colllection, but everything is now ready to create and control our Node.js clients.
Creating and running a Node.js client
Let's shutdown our server (Ctrl + C) for a while and create our Node.js client using the soundworks wizard with the following command line:
npx soundworks --create-clientEnter "thing" as name and "node" as target:
# Create client
✔ Name of your new client (lowercase, no-space): … thing
✔ Which runtime for your client? › node

- Creating client "thing" in file "src/clients/thing.js"
- name: thing
- runtime: node

? Confirm? › no / yes
Once done, you can just restart the development server:
npm run devTo launch our node client, let's open a second "Terminal", and run the following commands:
# go to the node-clients tutorial directory
cd path/to/tutorials/node-clients
# run you newly created node client in watch mode
npm run watch thing
And tada! Your node client should now be connected to the server:
> watching process	 .build/clients/thing.js
[launcher][client thing] connecting to http://127.0.0.1:8000
[launcher][client thing(0)] connected
Hello node-clients!
Implementing the Node.js client
Now that everything is setup and ready, let's write the code needed so our newly created client plays some sound when the button is clicked on the controller interface.
First, let's thus create our "thing" shared state and initialize its id field with the id of the soundworks client. Open the src/clients/thing.js file and add the following snippet:
await client.start();
// create the thing state and initialize it's id field
const thing = await client.stateManager.create('thing', {
  id: client.id,
});
INFO
If you go in the "Terminal" where you launched the Node.js client, you should see that the client automatically restarted each time you save a file, just as with the server. This is the behavior and goal of the npm run watch [process_name] command.
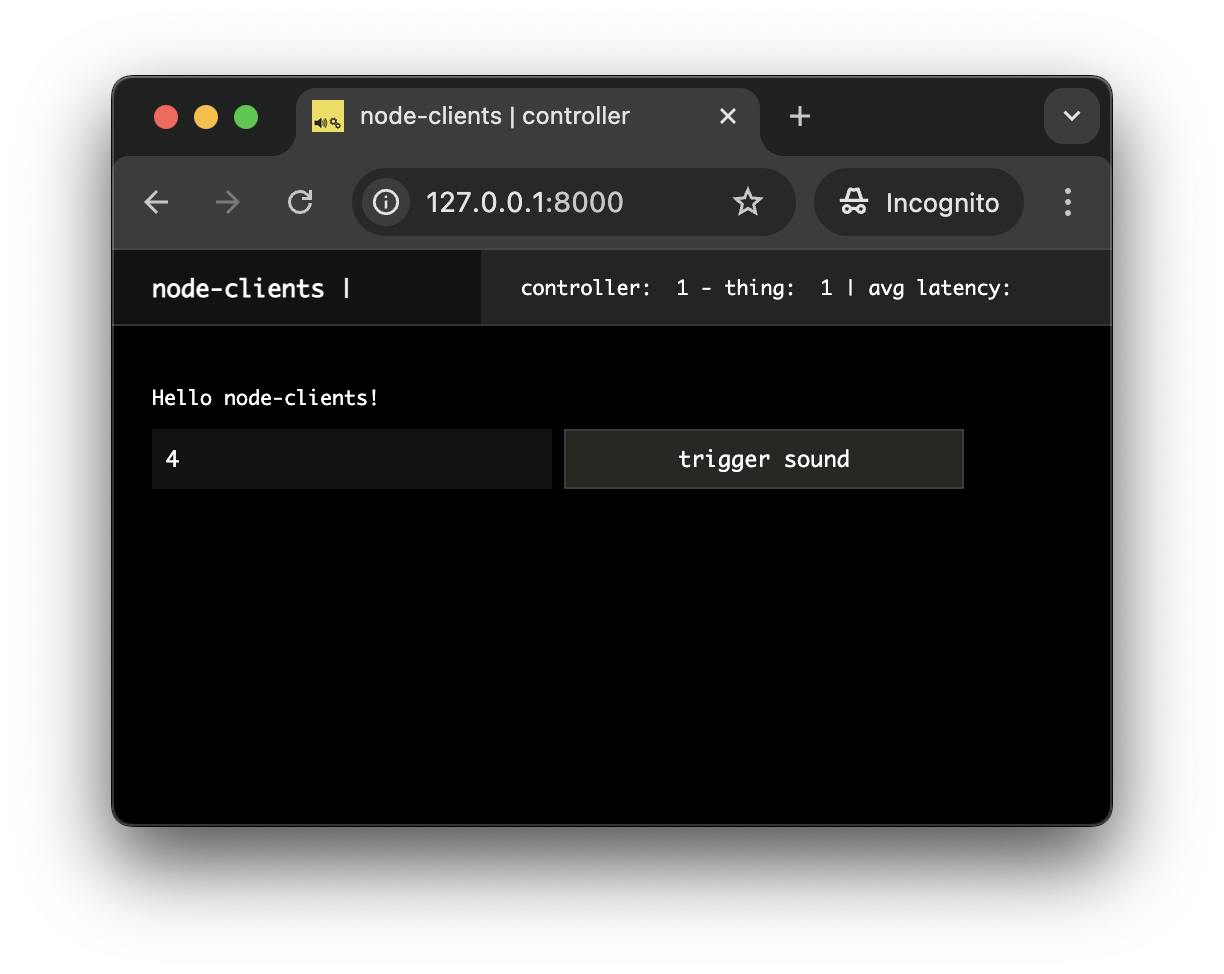
If reload your controller now, you should also see the interface updated with your connected client:
Let's finally write our Web Audio code so that a sound is triggered from the Node.js process when the "trigger sound" button is pressed on the controller interface:
// src/clients/thing.js
import { Client } from '@soundworks/core/client.js';
import launcher from '@soundworks/helpers/launcher.js';
// import some classes from the node-web-audio-api package
import { AudioContext, GainNode, OscillatorNode } from 'node-web-audio-api';

// ...

await client.start();
// create an audio context (note that it is resumed by default)
const audioContext = new AudioContext();
// create the thing state and initialize it's id field
const thing = await client.stateManager.create('thing', {
  id: client.id,
});
// react to updates triggered from controller
thing.onUpdate(updates => {
  if ('triggerSound' in updates) {
    const now = audioContext.currentTime;
    const env = new GainNode(audioContext, { gain: 0 });
    env.connect(audioContext.destination);
    env.gain.setValueAtTime(0, now);
    env.gain.linearRampToValueAtTime(1, now + 0.01);
    env.gain.exponentialRampToValueAtTime(0.0001, now + 1);
    // randomly pick one of the harmonics of a sound at 50Hz
    const frequency = Math.floor(Math.random() * 10) * 50 + 100;
    const osc = new OscillatorNode(audioContext, { frequency });
    osc.connect(env);
    osc.start(now);
    osc.stop(now + 1);
  }
});
And that's all! You have now a simple soundworks client that runs into Node.js process and can synthesize some sound.
TIP
As you can see, the code you wrote to make this Node.js client work is the same as the one you would have written in a browser client.
Abstracting the platform in such a way is an important goal of soundworks and of the related libraries, such as the node-web-audio-api package.
Notes
Locally emulate multiple clients
In previous tutorials, we often used the ?emulate=6 query parameter in our URL to emulate several clients in only one browser window, which is handy when developing distributed applications.
A similar behavior can be achieved with Node.js clients to run many of them in the same terminal. For example, to launch four clients in parallel, you can just write:
EMULATE=4 npm run watch thingRunning Node.js clients on a network
Another important point to consider is that Node.js clients do need some configuration to be able to connect to the server. Indeed, when we launch a client in a browser, we just tell the browser where to reach the server when we write the URL in the address bar of the Web browser.
However, as you may have notices, Terminals and Node.js processes don't have any address bar... Hence if your node client doesn't run into your computer but in a remote device, it will need a bit of configuration to know the IP address of the server.
The soundworks wizard has an dedicated command to help you to create additional environment config files:
npx soundworks --create-envThe command will prompt you with a series of questions to configure a environment, and in particular the question about the "Address of the server":
# Create environment configuration file:
✔ Name of the config … remote
✔ Type: › development
✔ Port (default is 80 for http and 443 for https): … 80
✔ Address of the server (domain or ip), leave empty for local development: … 192.168.1.34
✔ Use https? … no
✔ baseUrl (if the application live behind a proxy server, leave empty for most cases): …
✔ Do you want to protect some clients with a password? … no

- creating config file "env-remote.yaml":
```
type: development
port: 80
baseUrl: ""
serverAddress: 192.168.1.34
useHttps: false
httpsInfos:
  cert: null
  key: null
auth:
  clients: []
  login: ""
  password: ""

```

✔ Confirm? … yes

+ config file "env-remote.yaml" successfully created
To use this configuration file, you will just have to start your clients by giving them the name of the config, e.g.:
ENV=remote npm run watch thingConclusion
In this tutorial, we have explored an important feature of soundworks, i.e. the possibility to create clients that are not running in a Web browser, but rather in a Node.js process.
In the next tutorials, we will continue our journey into soundworks, by tackling the important question of synchronization between different processes and machines.