Getting Started
In this tutorial, we will learn how to setup a project and develop a simple soundworks application where any connected user will be able to trigger a flash on the screen of all connected clients.
The tutorial requires basic knowledge of JavaScript, Node.js and of the command-line. If you are just starting with JavaScript development, please first set up a working environment following the instructions here and come back when done.
The final source code of this tutorial can be found here
Prerequisites
- Node.js LTS
- A modern browser (e.g. Chrome, Firefox)
Step 1 - Setting things up
The best and most simple way to create a new soundworks application is to use our dedicated command line tools:
So first thing first, open a Terminal, go to some directory and execute the following command:
cd path/to/working/dir
npx @soundworks/create@latest
TIP
If you run the command for the first time (which is quite likely), the npx command will tell you that it needs to install the @soundworks/create package, just press Enter to accept and continue.
The wizard will startup and ask you for the name of the directory in which you want to create the application: just write getting-started and press Enter. The wizard will automatically create the directory, copy a bunch of files and install the required dependencies as illustrated in the screenshot below.
INFO
Note that the screenshots in this guide may differ slightly from what you actually see in your console, as the CLI tool might have evolved a bit since the screenshots have been made.
~/tmp $ npx @soundworks/create@latest
[@soundworks/create#v5.0.3]

> welcome to soundworks

- documentation: https://soundworks.dev
- issues: https://github.com/collective-soundworks/soundworks/issues

✔ Where should we create your project? (leave blank to use current directory) … getting-started

- Scaffolding application in "~/tmp/getting-started" directory
- Installing dependencies
TIP
If you run the command for the first time, you will prompt to install the @soundworks/create package from the internet, just press Enter to confirm
~/tmp $ npx @soundworks/create@latest
Need to install the following packages:
@soundworks/create@5.0.3
Ok to proceed? (y)
Once the installation is done, the @soundworks/create wizard will propose you to install some soundworks plugins and some curated libraries. For now, just press Enter to skip this steps.
[@soundworks/wizard#v5.0.3]

# Install plugins
✔ Select the plugins you would like to install/uninstall ›
+ nothing to do, aborting...

# Install libraries
✔ Select the libraries you would like to install/uninstall ›
+ nothing to do, aborting...
After that step, the wizard will propose you to create a client of your application. Let's call it player and press Enter as shown below.
# Install plugins
✔ Select the plugins you would like to install/uninstall ›
+ nothing to do, aborting...

# Install libraries
✔ Select the libraries you would like to install/uninstall ›
+ nothing to do, aborting...

# Create client
? Name of your new client (lowercase, no-space): › player
The wizard will then ask a few questions to configure your client, again just press Enter to select the default values, i.e. select the browser runtime
# Create client
✔ Name of your new client (lowercase, no-space): … player
? Which runtime for your client? › - Use arrow-keys. Return to submit.
❯   browser
    node
and the default template:
# Create client
✔ Name of your new client (lowercase, no-space): … player
✔ Which runtime for your client? › browser
? Which template would you like to use? › - Use arrow-keys. Return to submit.
❯   default
    controller
Finally, the wizard will ask you to confirm your choices, press Enter.
# Create client
✔ Name of your new client (lowercase, no-space): … player
✔ Which runtime for your client? › browser
✔ Which template would you like to use? › default

- Creating client "player" in file "src/clients/player.js"
- name: player
- runtime: browser
- template: default
- default: true

? Confirm? › no / yes
Once done, the wizard will propose you a bunch of possible thing to do, for now let's just exit:
? What do you want to do? › - Use arrow-keys. Return to submit.
    create a new soundworks client
    install / uninstall soundworks plugins
    install / uninstall related libs
    find documentation about plugins and libs
    get config information about you application
    create a new environment config file
    eject the launcher and default init views
    check and update your dependencies
    upgrade config files from JSON to YAML
❯   → exit
Congrats, your application is now ready to be launched!
+ Your project is ready!

- next steps:
  1: cd getting-started
  2: git init && git add -A && git commit -m "first commit" (optional)
  3: npm run dev
To make sure the application is correctly set up and installed, just follow the steps 1 and 3 proposed as next steps by the wizard:
- Go to the directory:
cd getting-started - Launch the project in development mode:
npm run dev
After a few seconds, the server should be running:
~/tmp $ cd getting-started/
~/tmp/getting-started $ npm run dev

[...some build logs...]

--------------------------------------------------------
- launching "getting-started" in "default" environment
- [pid: 38424]
--------------------------------------------------------

+ configured clients and routing

ROLE     | RUNTIME | PATH   | DEFAULT |  AUTH
> player | browser | /      |    x    |

+ starting registered plugins
+ http server listening on
    http://127.0.0.1:8000
    http://192.168.1.89:8000

> press "Ctrl + C" to exit
Sass is watching for changes. Press Ctrl-C to stop.
Open you favorite browser (which shall probably not be Safari), go to http://127.0.0.1:8000, and tada! You should see a rather pretty almost black screen:
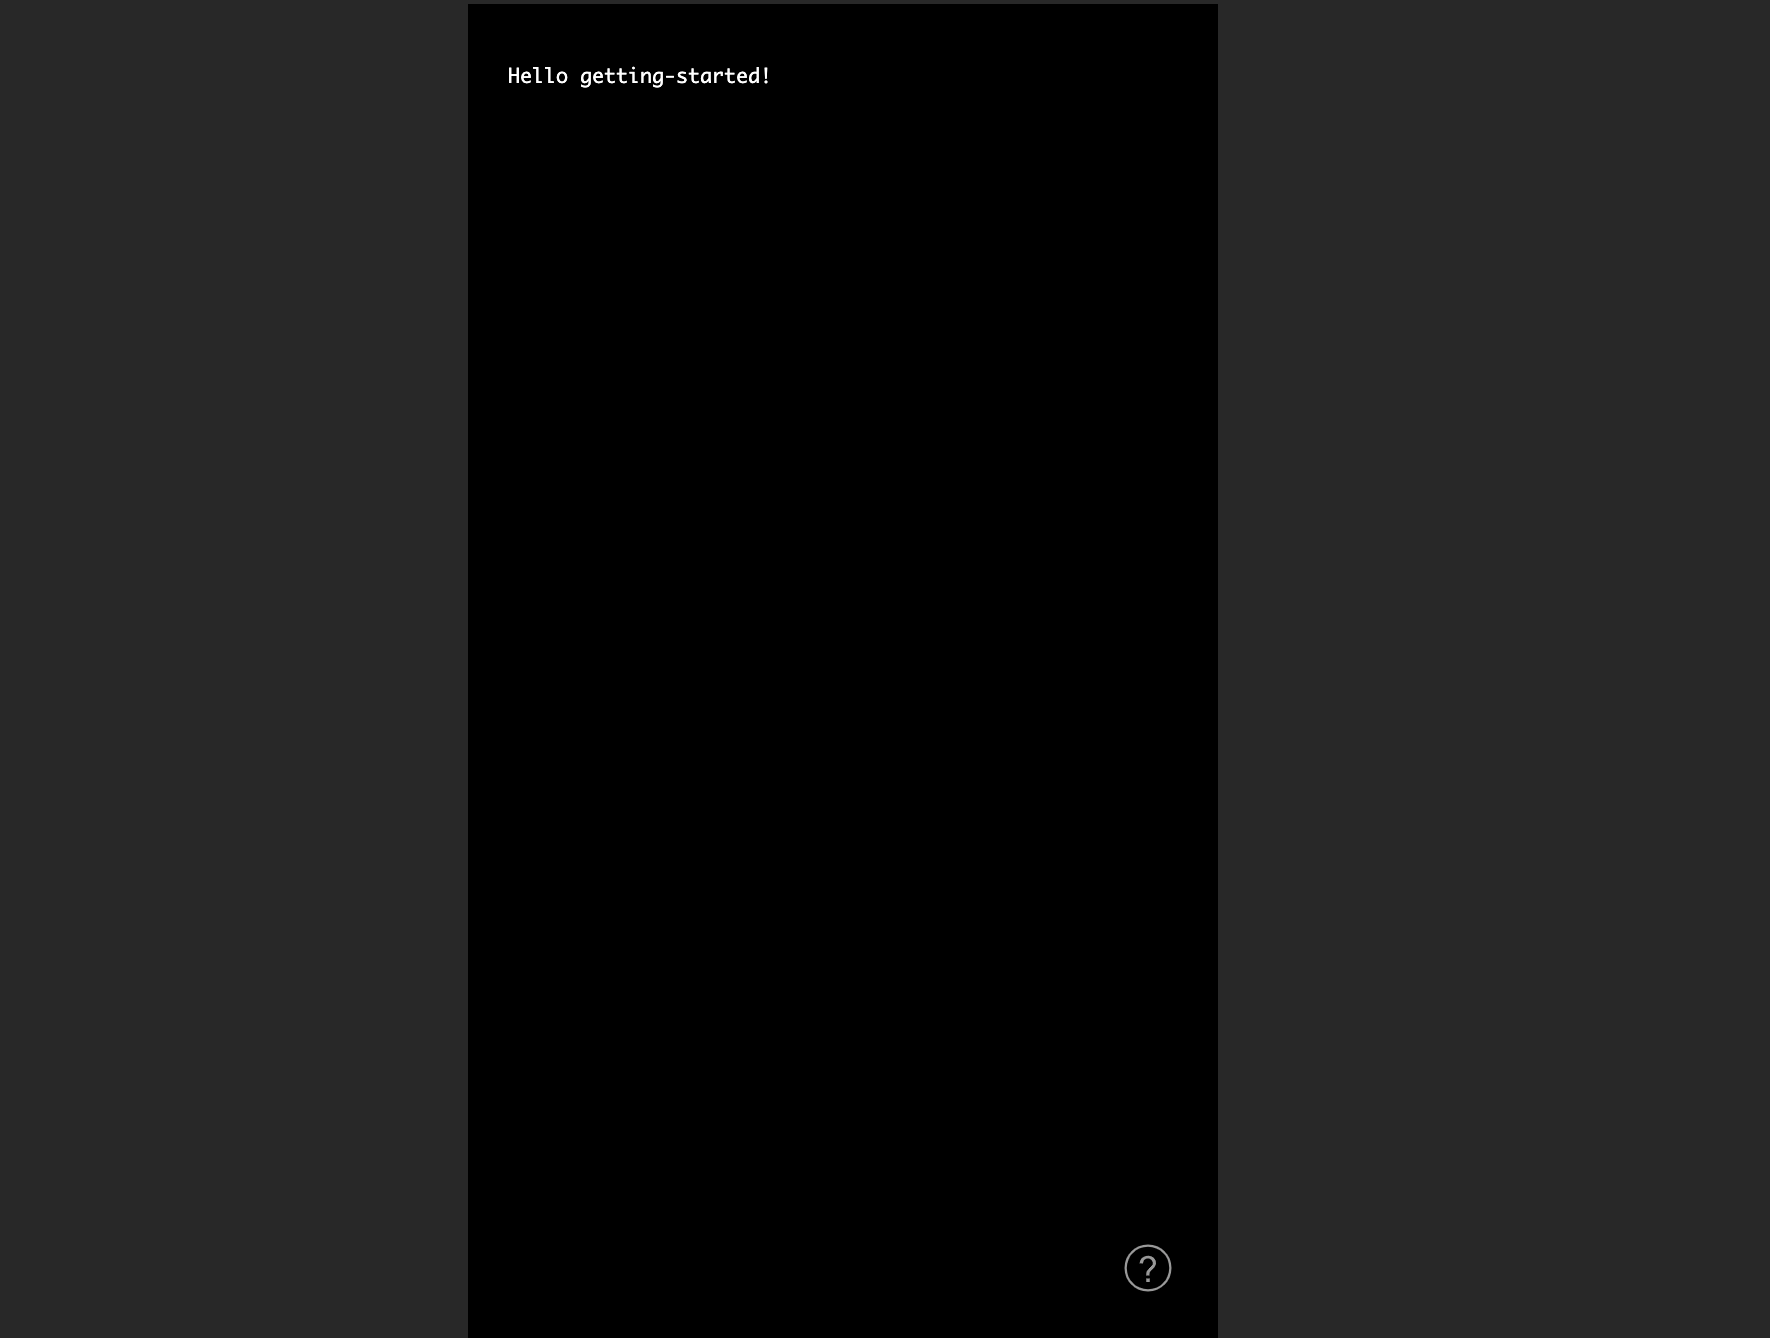
Congrats! You just configured and ran your first soundworks application. Now, let's have a closer look to the code base.
Step 2 - Exploring the file structure of the application
Press Ctrl + C to stop the server and open the getting-started directory in your favorite text editor. You should see the following file structure:
getting-started
├── .build              # Directory where your application is built
├── config              # Configuration files
│   ├── application.yaml
│   └── env-default.yaml
├── node_modules        # Directory where the dependencies are installed
├── public              # Directory that is exposed by the server
├── src
│   ├── clients         # Directory where all clients are declared
│   │   └── player.js    # Source code of the `player` client you just created
│   ├── styles
│   └── server.js       # Source code of the server
├── package.json        # File that contains the declaration of your dependencies
└── README.md           # General infos about your application
There are a few thing to note about all these files:
- The
node_modulesand.builddirectories should never be edited manually. They are respectively used by the Node Package Manager (i.e.npm) to install dependencies of your application, and by the soundworks build tools to make some transformation on your source files. - The
srcdirectory, at contrary, contains all the source files of your application, this is where you will work most of the time. - The
publicdirectory is the directory that is exposed to the network by the server. This is the place where you should put your static assets such as images or sound files, so that clients connected to your application can download and use them.
WARNING
It is very important to understand and to keep in mind that exposing a directory to the network means that all the files located in this directory will be accessible by any computer connected to the same network.
So, DO NOT expose any sensitive or private information in this directory.
This is an important thing to keep in mind whenever you deal with servers and networks, it's not specific to soundworks applications.
Now that we have an overview of the file structure of a soundworks application, let's write some code!
Step 3 - Create a global shared state
First, go back to the Terminal and restart our server:
npm run devTIP
The dev command (quite wisely) starts the server in development mode. This means the application will be bundled and the server restarted each time a source file is saved (which is expected to be comfortable and time saving when developing an application).
Open the src/server.js file and add the following lines at the end of the file (i.e. after the await server.start(); line):
// src/server.js
await server.start();

// and do your own stuff!
const globalSchema = {
  trigger: { type: 'boolean', event: true },
};
Here, we are just creating a plain old JavaScript object that follows the soundworks shared state class description syntax. This data structure declares a parameter named trigger that is configured to be a boolean event.
TIP
If you are familiar with databases, you can think of these data structure as the schema of a table. If you are curious, the full API documentation for declaring shared state class descriptions can be found here.
Then we need to define a shared state class with a name and using this description in the soundworks' state manager:
const globalSchema = {
  trigger: { type: 'boolean', event: true },
};

server.stateManager.defineClass('global', globalSchema);
Finally, we can create a global shared state instance from this schema definition:
const globalSchema = {
  trigger: { type: 'boolean', event: true },
};

server.stateManager.defineClass('global', globalSchema);

const global = await server.stateManager.create('global');
And, that's it for the server-side logic!
If everything went well, you should see no error in the Terminal, and launching a client in your browser should still show you the same fancy black page.
Step 4 - Make clients interactive
Now that the server-side logic is ready, let's implement the client-side of our simple application.
Open a browser and go to http://127.0.0.1:8000, then go back to your text editor and open the src/clients/player.js file.
First, let's change a line of code to modify the text on the page to make sure we can act on this fancy black screen:
// src/clients/player/index.js
await client.start();

function renderApp() {
  render(html`
    <div class="simple-layout">
      <p>Hello ${client.config.app.name}!</p> // [!code --]
      <p>Click here</p>  // [!code ++]

      <sw-credits .infos="${client.config.app}"></sw-credits>
    </div>
  `, $container);
}
If you reload the page (Cmd + R on Mac or Ctrl + R on Windows), you should now see the text "click here" displayed of the top left of your screen.
TIP
The HTML rendering is done here using the lit library developed by Google. While we promote usage of this library in our application template, soundworks does not require usage of this library and could potentially be used with any other UI library or framework.
Now that we are sure everything works as expected and that we have control over the behavior of this Web page, let's add the following code in the same file:
// src/clients/player/index.js
await client.start();

const global = await client.stateManager.attach('global');
console.log('global shared state', global.getValues());

function renderApp() {
  render(html`
    <div class="simple-layout">
      <p>Click here</p>
      <sw-credits .infos="${client.config.app}"></sw-credits>
    </div>
  `, $container);
}
Here, we simply attach our client to the global state created by the server. This means that our client will be able 1. to apply some updates to the shared state, and 2. to be notified when a change is made to the shared state from another client on the network.
The second line will just log the current values of the global shared state into the browser's console, so that we can make sure that the global shared state has been successfully attached.

TIP
To open the JavaScript console in your browser, you should press Cmd + Alt + I and then select the Console tab.
Now that our shared state is attached, let's write the code that allows us to react to any change made on the shared state:
await client.start();
const global = await client.stateManager.attach('global');
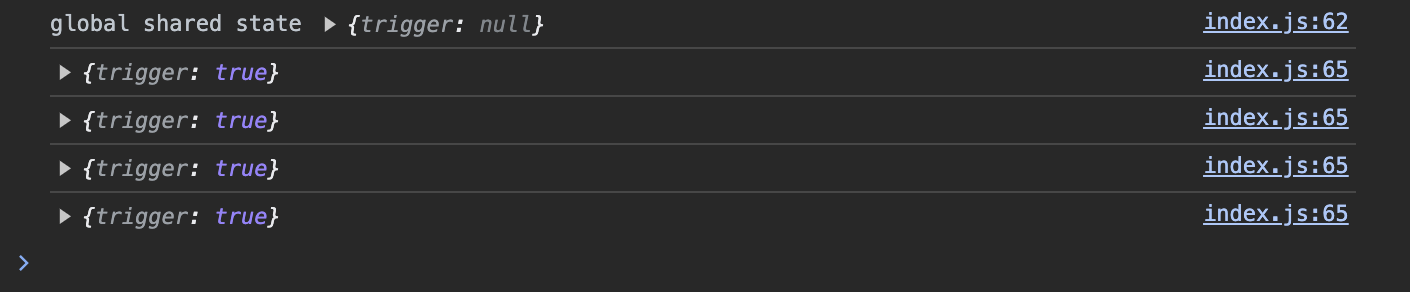
console.log('global shared state', global.getValues());
global.onUpdate(updates => {
console.log(updates);
}); In this snippet, we use the onUpdate method of the global shared state that allows us to register a function to be executed when something is updated on the state. For now, the callback function will just log the updates in the console, but we will come back there later on to do something more fancy.
At this point, we have all the logic we need to react to a change in the global shared state, but nothing to actually trigger a change. So, let's now add the following code to update the value of the trigger parameter when the user clicks on the screen:
await client.start();

const global = await client.stateManager.attach('global');
console.log('global shared state', global.getValues());

global.onUpdate(updates => {
  console.log(updates);
});

$container.addEventListener('click', () => {
  global.set({ trigger: true });
});
Reload the page again (Cmd + Shift + R), and click anywhere on the screen, you should see a new log appear in the console on each click.
Finally, let's just review the code inside the onUpdate callback function to change the color of the screen, instead of just logging into the console.
await client.start();

const global = await client.stateManager.attach('global');

global.onUpdate(updates => {
  console.log(updates);
  if (updates.trigger === true) {
    $container.style.backgroundColor = 'white';
    setTimeout(() => {
      $container.style.backgroundColor = 'black';
    }, 50);
  }
});
Now, whenever the trigger parameter of the global shared state is set to true, we change the background color of the screen to 'white' and put it back to 'black' after 50 ms.
To see the shared state in action, and understand more precisely why we keep calling it a "shared state", let's emulate several parallel browser clients in our browser window. To that end, open http://127.0.0.1:8000?emulate=8 (note the ?emulate=8 at the end of the URL).
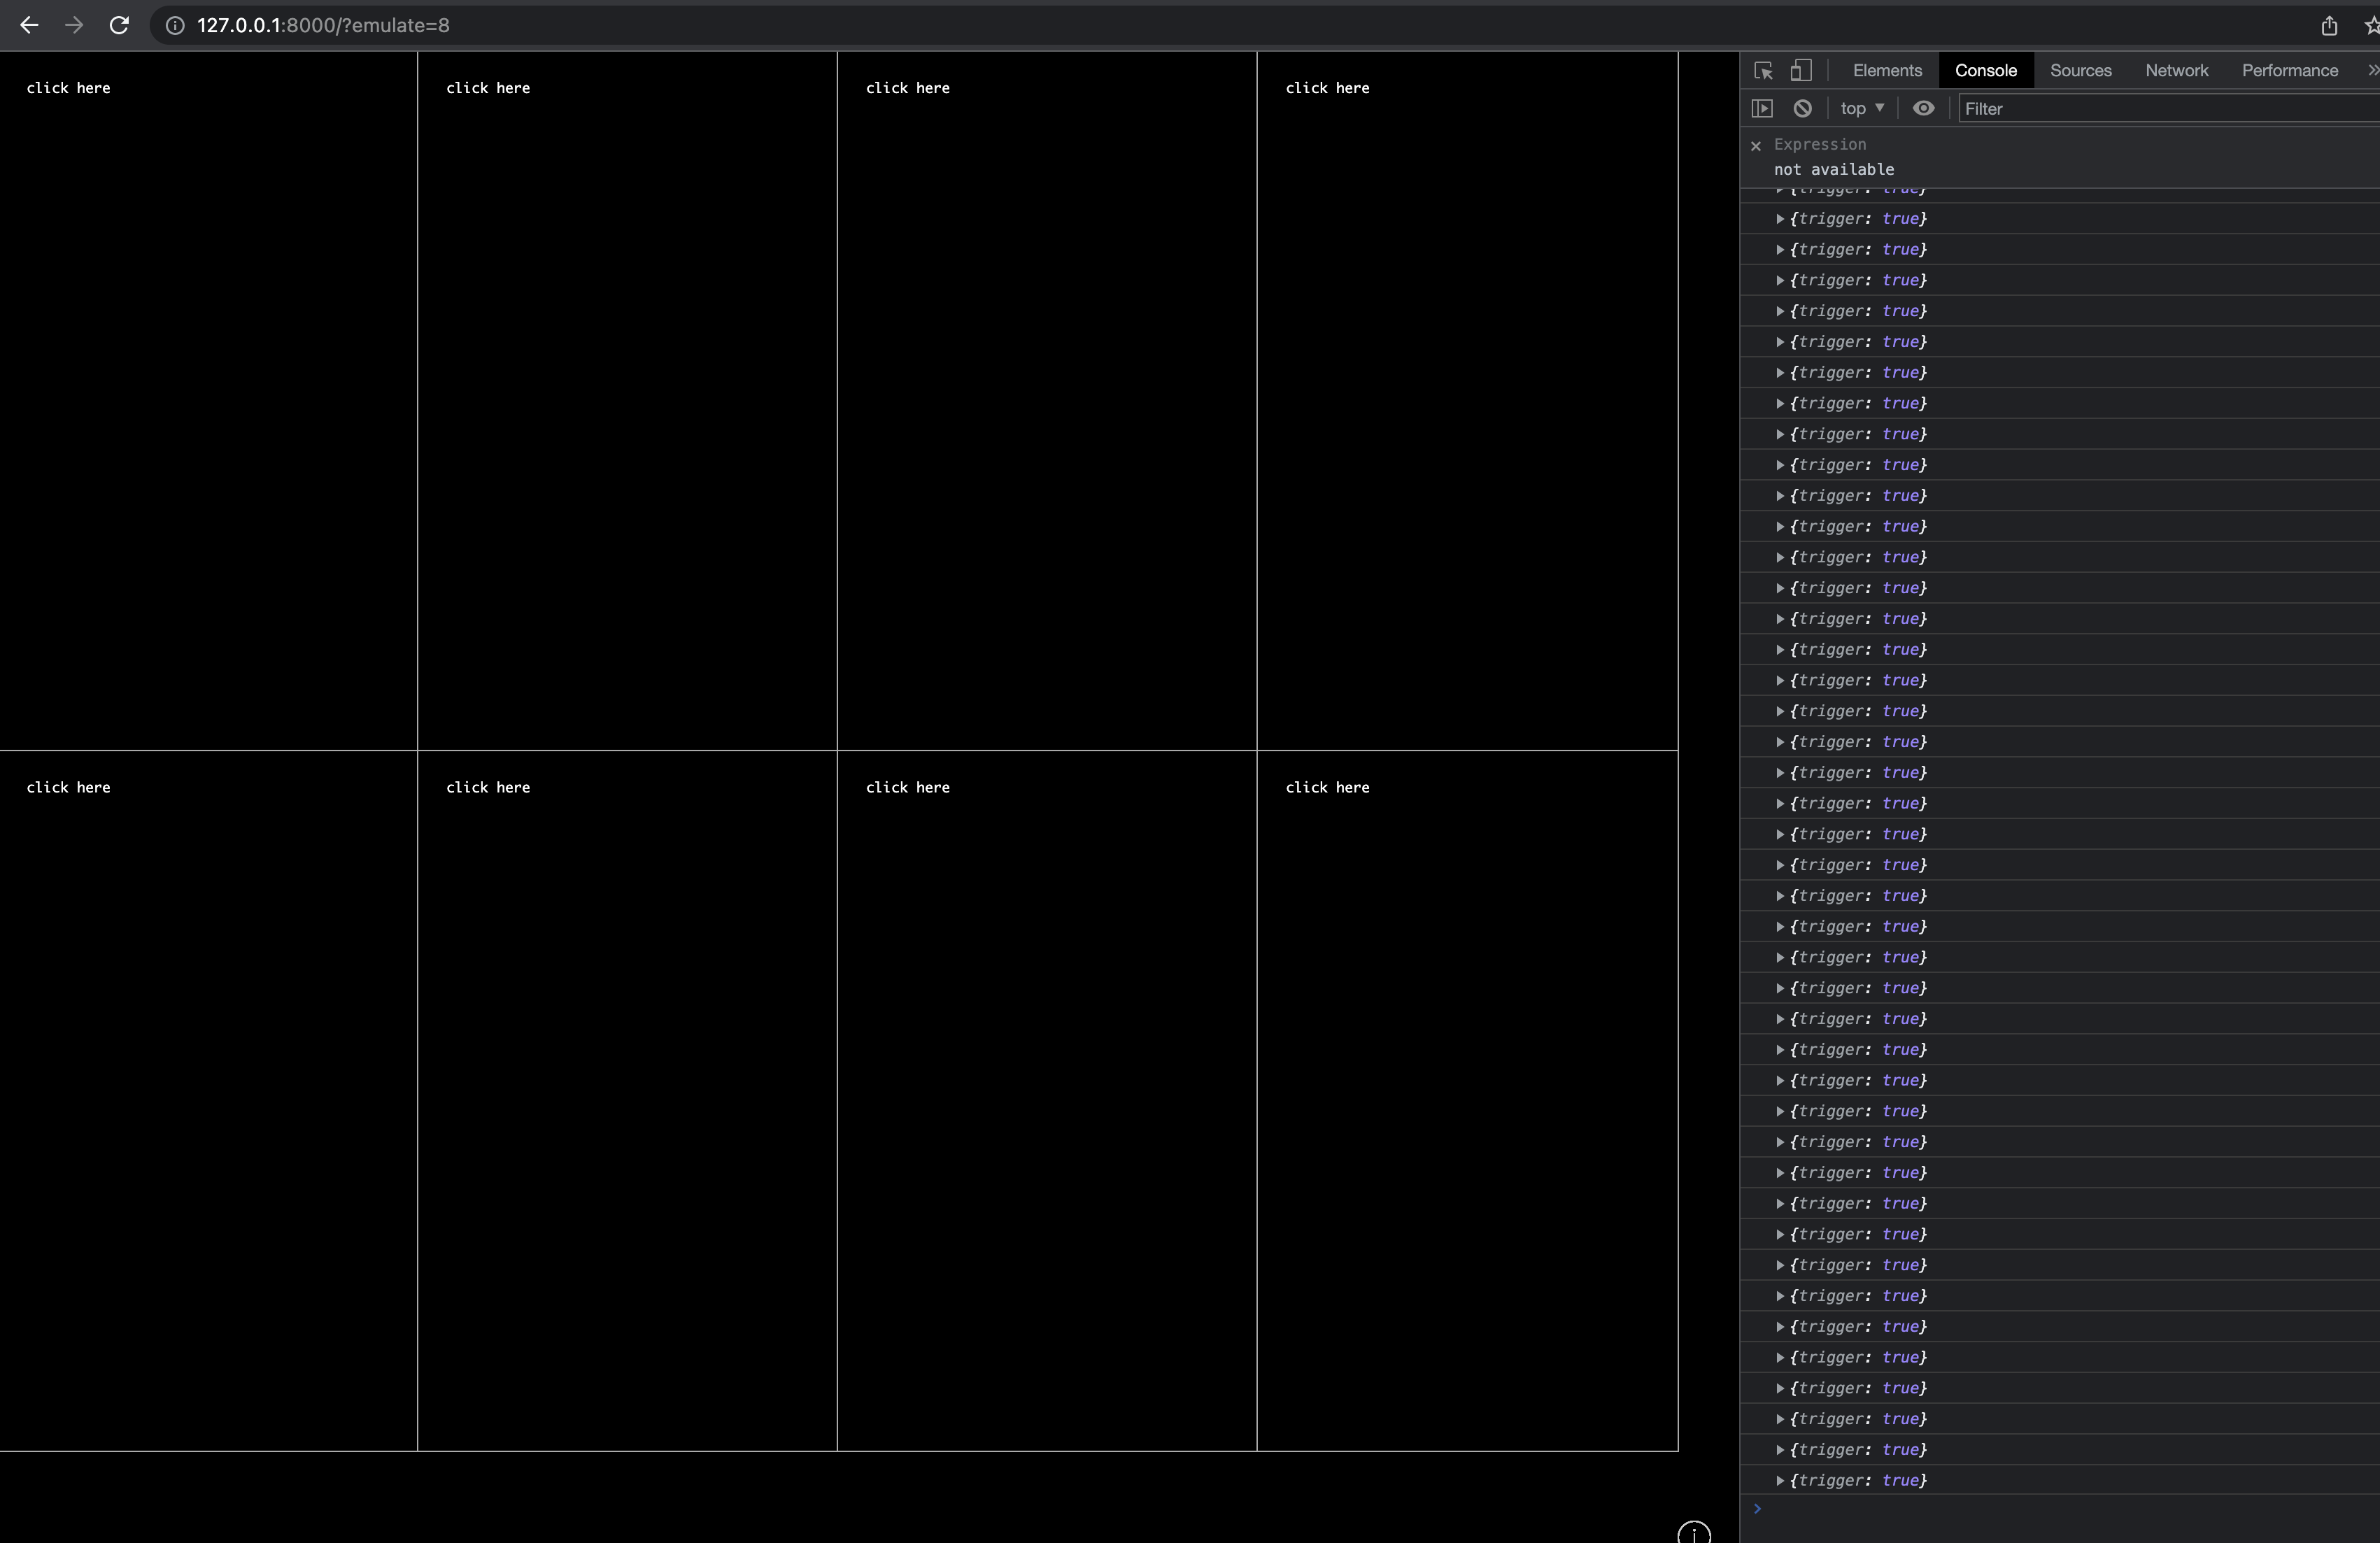
If you click on any of these 8 emulated clients, all of them will blink. Indeed all of them are attached to the same global shared state, and react exactly in the same way to the updates of the state.
Conclusion
Congrats, you just wrote your first soundworks application. Along the way you learned quite a few things:
- How to setup a soundworks application using the
@soundworks/createwizard, - How to use some of the tools that are at your end to simplify development
- Discovered the shared states provided by soundworks, and how they allow you to simplify development and to hide network complexity.
On the next tutorial, we will explore more possibilities proposed by the soundworks' distributed state management system.