WebSockets 101
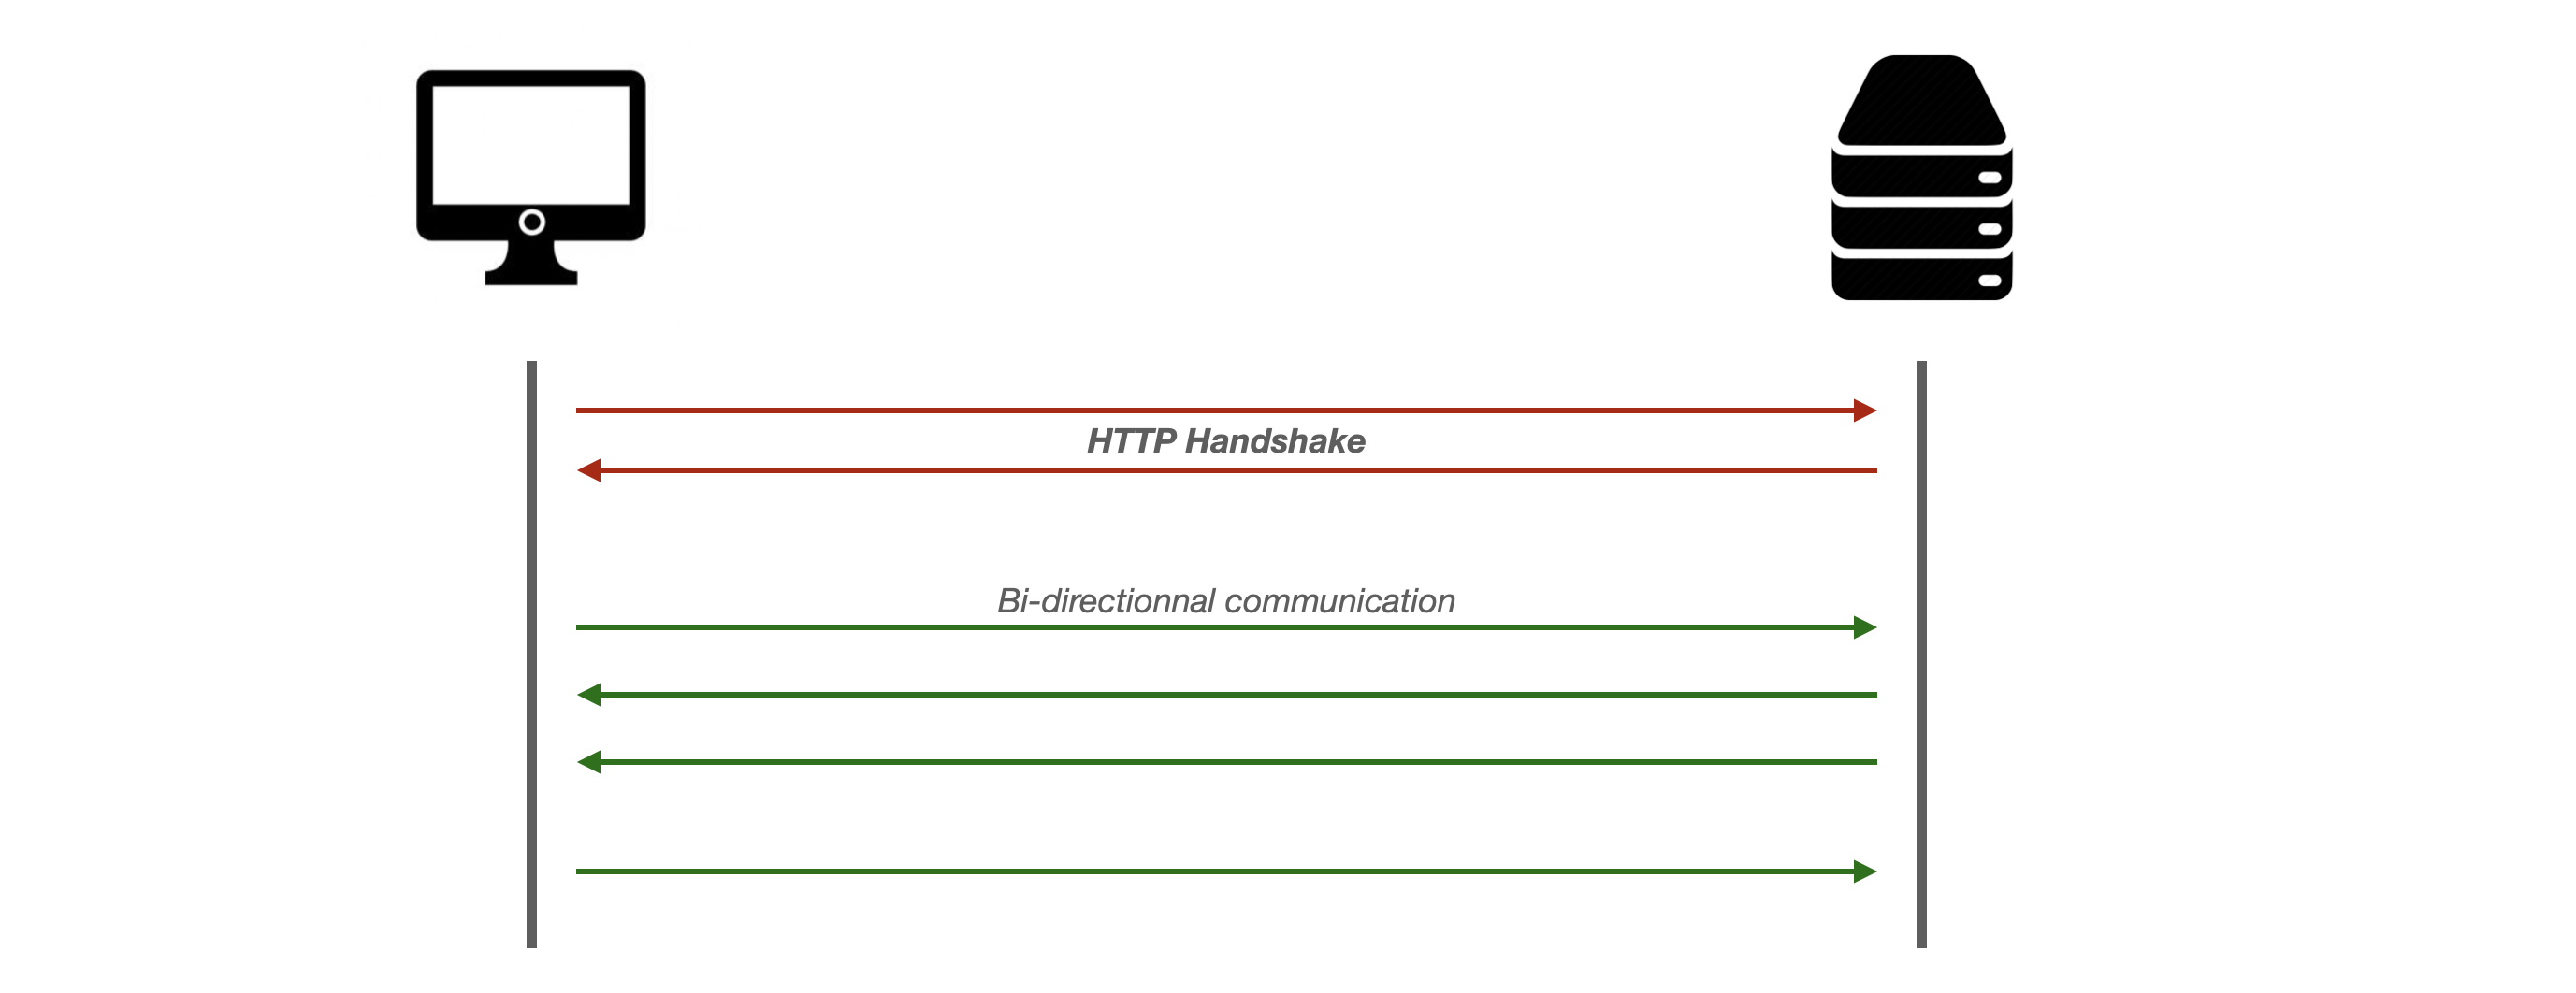
WebSocket is a communication protocol that provides full-duplex communication channels over a single TCP connection. In other words, WebSockets enable bi-directionnal communication between a client and a server, meaning that both the client and the server can send data to the other, which is not possible with traditionnal HTTP protocol.
They are particularly useful for creating applications requiring instant updates, such as chats, multiplayer games, or in our case distributed music systems.
Let's then create a very simple application from groundup to have a taste of what using raw WebSockets means.
Scaffolding the project
Let's first create a new simple project:
cd /path/to/working/directory
npx @ircam/create@latest websockets-101
In this project, we won't use the simple server which the command line tool propose (i.e. npx serve), but we will rather create our own server which will be able to handle websocket connections.
Let's then install some dependencies to simplifies the process:
cd websockets-101
npm install --save ws server-static finalhandler
After the last command, you should see a new file called package.json that have been created by npm in order to (amongst other things) track the dependencies of your application. Let's just add the following line in the file so that we can use a more modern and compliant javascript syntax within node:
// package.json
{
  "type": "module",
  "dependencies": {
    "finalhandler": "^1.2.0",
    "serve-static": "^1.15.0",
    "ws": "^8.16.0"
  }
}
Implementing the server
Now eveything is ready to implement our simple server. So, let's create a new file called server.js and let's start with importing all the dependencies we will need:
// server.js
import http from 'node:http';
import { WebSocketServer } from 'ws';
import serveStatic from 'serve-static';
import finalHandler from 'finalhandler';
Let's start with creating a simple HTTP server and configuring it so that it behaves as a static file server:
// create handler for static files
const staticFileHandler = serveStatic('./', { index: ['index.html'] })
// create the server and use our static file handler to respond to requests
const server = http.createServer((req, res) => {
  staticFileHandler(req, res, finalHandler(req, res))
});
// start the server, listening for request on port 3000
server.listen(3000, () => {
  console.log(`Server started: http://127.0.0.1:${PORT}`);
});
If you now start the server:
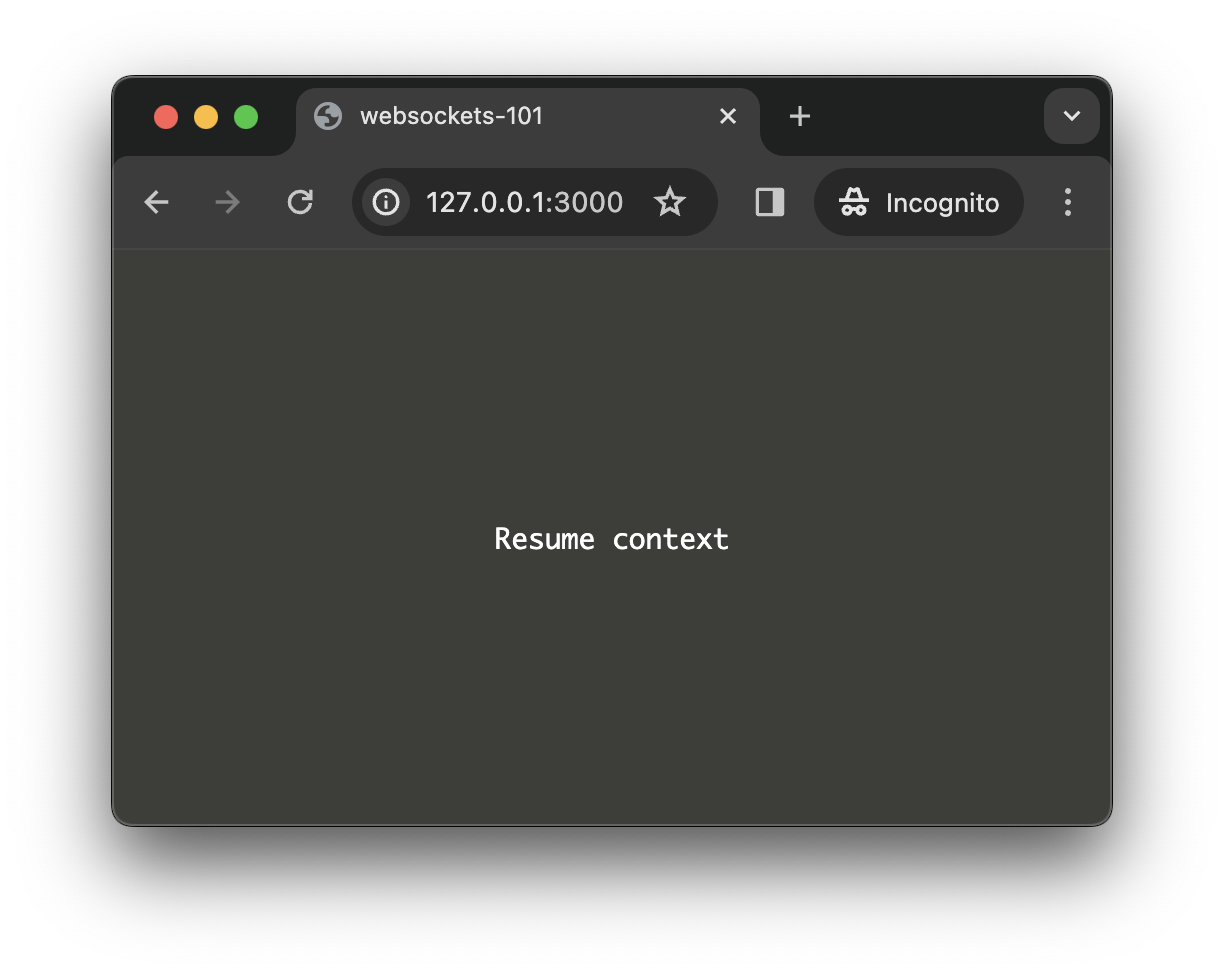
node server.jsAnd open the URL http://127.0.0.1:3000 in your browser, the server should retrieve all the files requested by the client, e.g. index.html, main.js, etc. and you should thus see the following on your screen:
Let's then just modify a bit our server so that it can handle websockets connection as well:
// create handler for static files
const staticFileHandler = serveStatic('./', { index: ['index.html'] })
// create the server and use our static file handler to respond to requests
const server = http.createServer((req, res) => {
  staticFileHandler(req, res, finalHandler(req, res))
});
// start the server, listening for request on port 3000
server.listen(3000, () => {
  console.log(`Server started: http://127.0.0.1:3000`);
});
// create the WebSocket server
const wss = new WebSocketServer({ server });
// listen for "connection" event when a new WebSocket is created
wss.on('connection', socket => {
  console.log('- new websocket connection!');
});
For now, we just log any created socket so we can easily see in the console if eveything works as expected.
Let's just restart our server so that our changes are taken into account. In the Terminal, press Ctrl+C to close the server then restart it with:
node serveOpening a client WebSocket
Now that eveything is setup and running on our server side, let's create our WebSocket client to communicate with the server.
Open the main.js file and add the following lines of code:
import { html, render } from 'https://unpkg.com/lit-html';
import 'https://unpkg.com/@ircam/sc-components@latest';
import resumeAudioContext from './lib/resume-audio-context.js';
import loadAudioBuffer from './lib/load-audio-buffer.js';
// create a WebSocket to the server
const url = window.location.origin.replace('http', 'ws');
const socket = new WebSocket(url);
socket.addEventListener('open', () => {
console.log('socket connected');
});
socket.addEventListener('error', err => console.log(err.message));
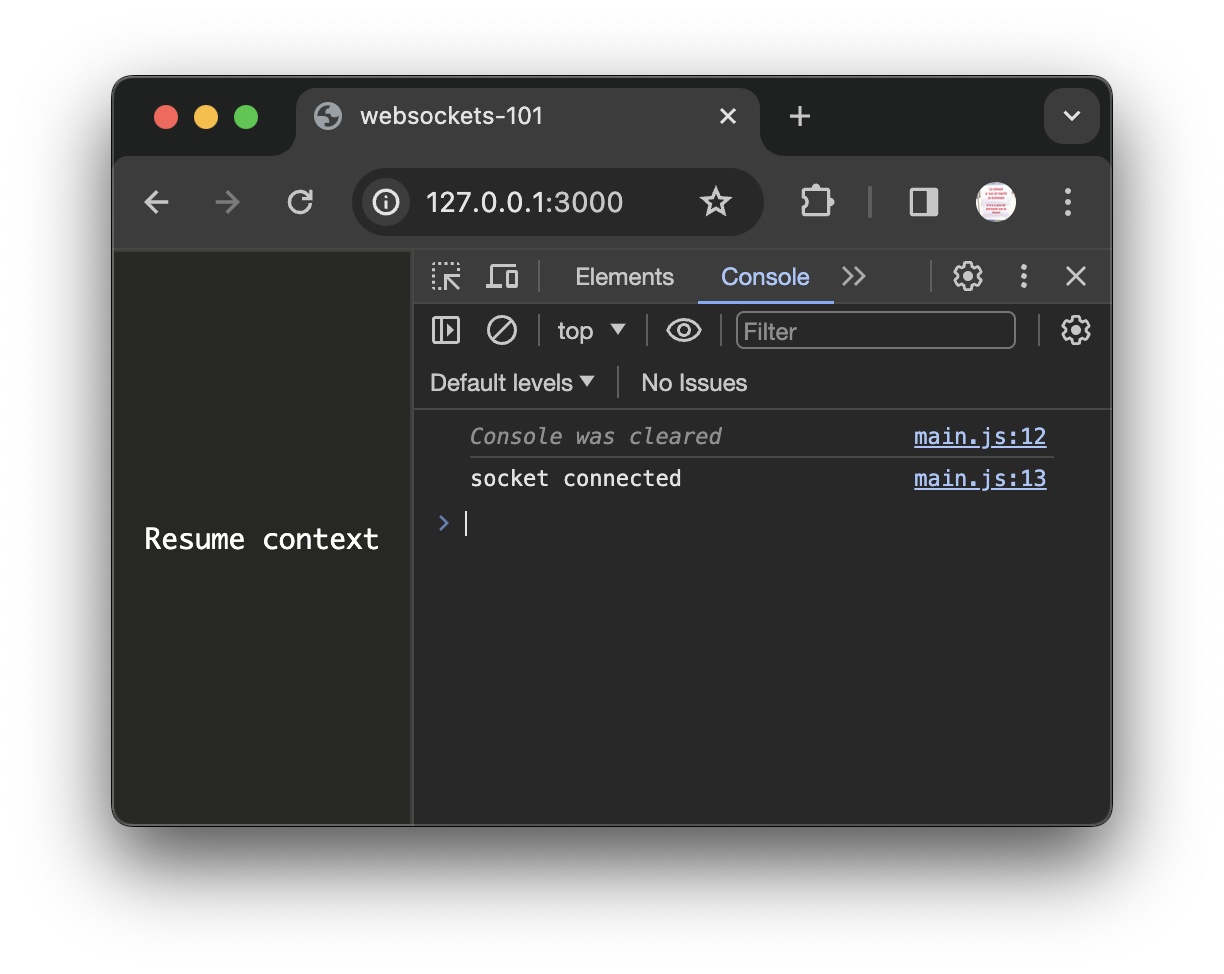
socket.addEventListener('close', () => console.log('socket closed')); If you reload the page, you should see the "socket connected" message displayed in the console:
Propagating Events
Now that our communication channel is setup, let's modify sligthly the behavior of our demo app, so that when a user clicks on the bang components the sound is triggered on every connected client and not just itself.
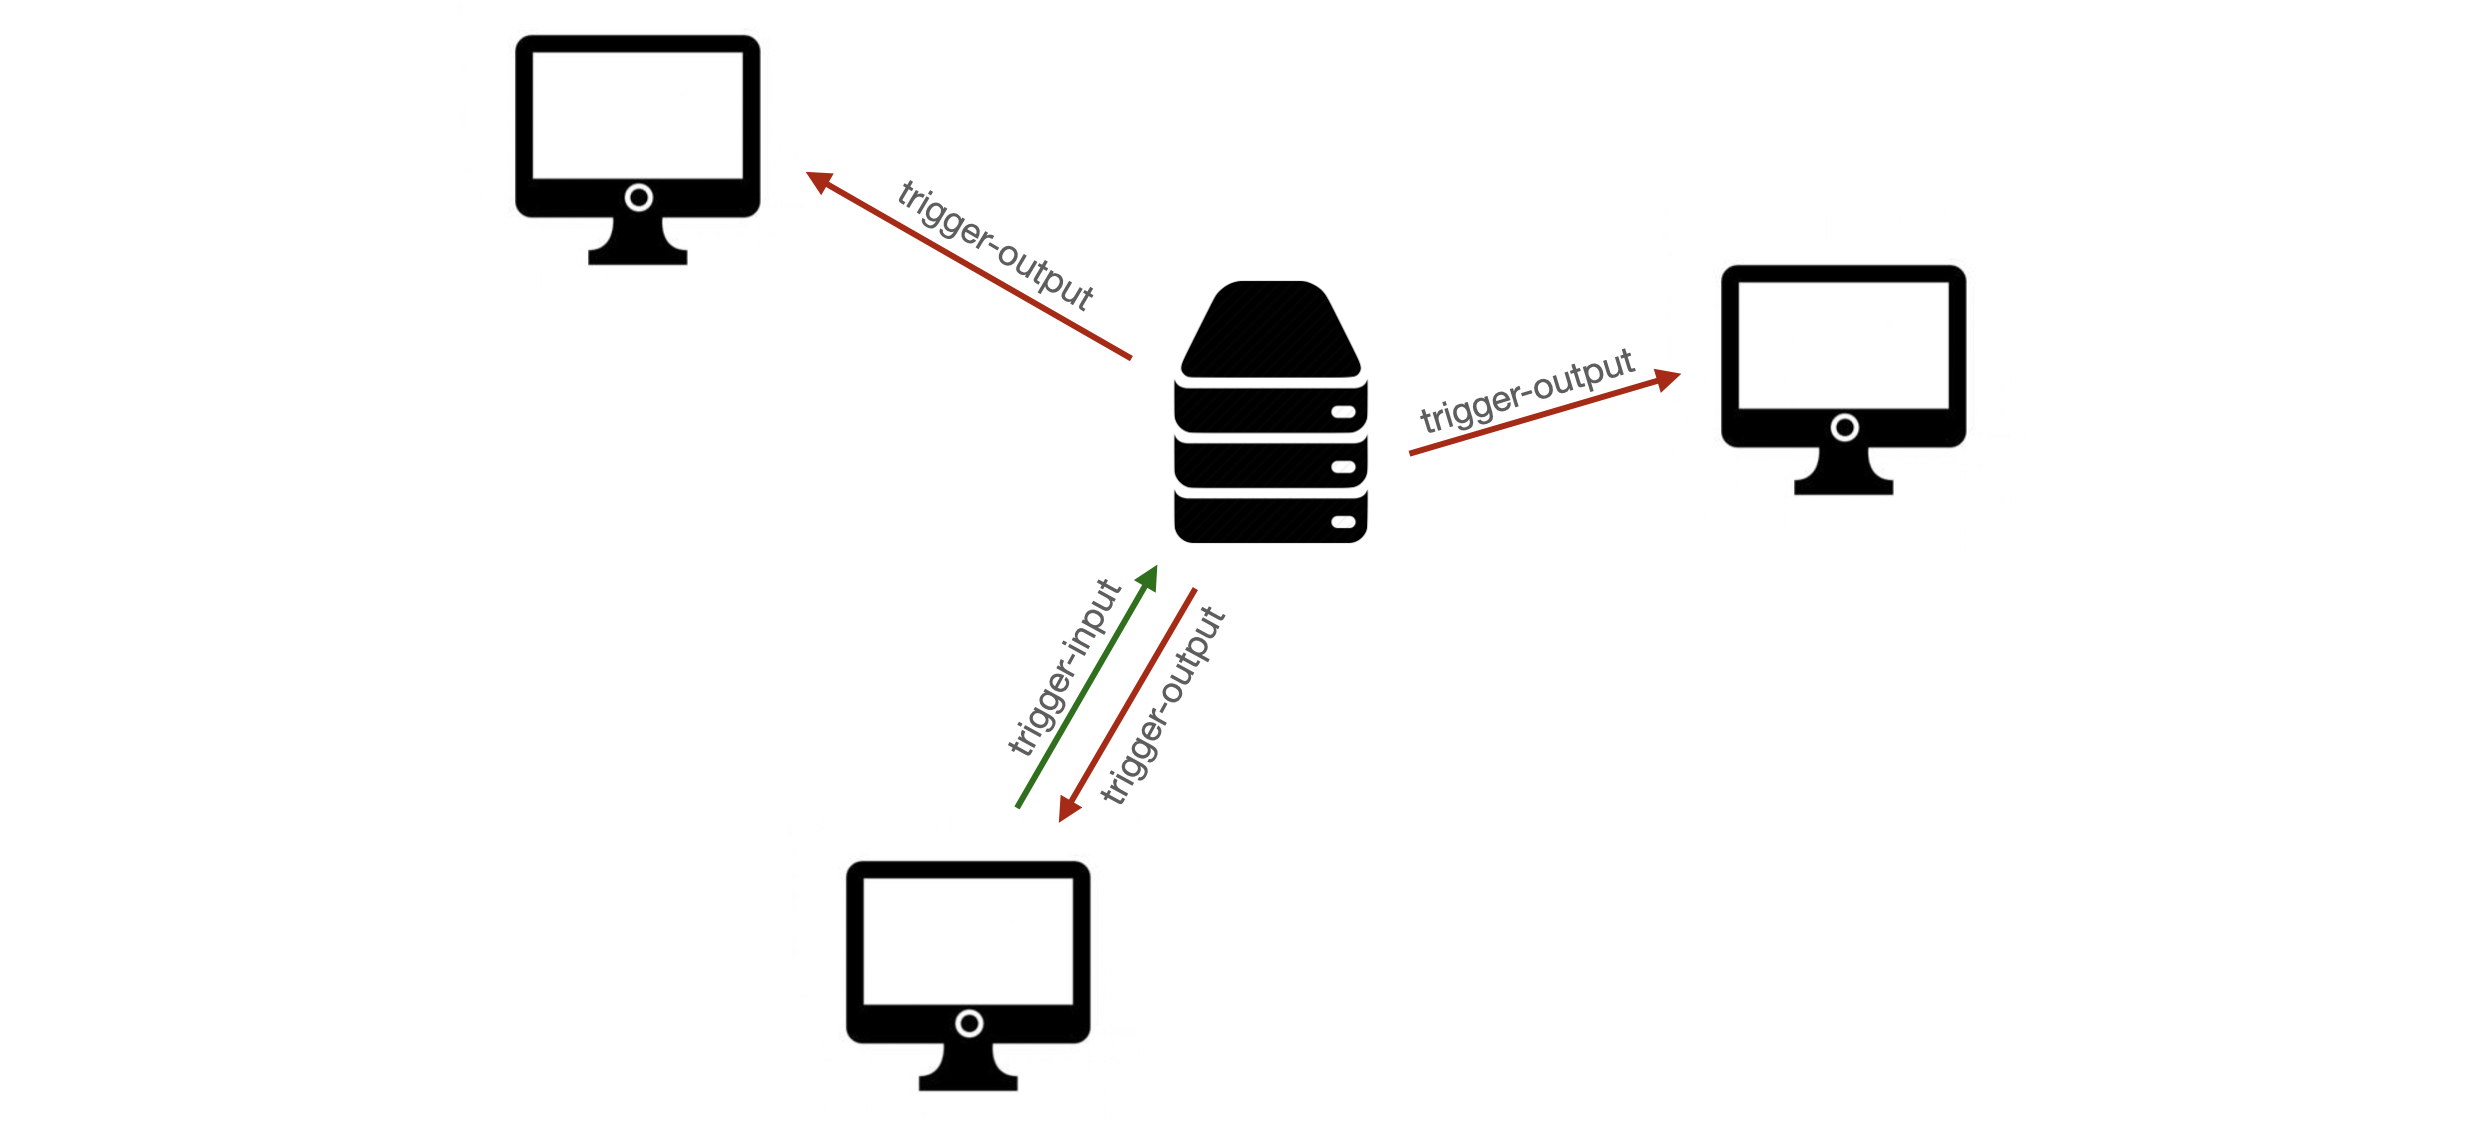
Our data flow will thus be of the following form:
- When the client clicks on the
sc-bangcomponent, a message (e.g. "trigger-input") is sent to the server - When the server receives a "trigger-input" message, it sends another message (e.g. "trigger-output") to every connected socket
- When a client receives a "trigger-output" message, it plays the sound file
So let's start by implementing the point 1. on our client-side:
// main.js
render(html`
  <h1>websockets-101</h1>
  <sc-bang
    @input=${e => socket.send('trigger-input')}
    @input=${e => {
      const src = audioContext.createBufferSource();
      src.connect(audioContext.destination);
      src.buffer = buffer;
      src.start();
    }}
  ></sc-bang>
`, document.body);
Quite easy step, we just send the message "trigger-input" to the server through our socket instance.
Let's now implement the step 2. on the server side:
// server.js
const wss = new WebSocketServer({ server });
// A store for our socket client instances
let sockets = new Set();
// listen for "connection" event when a new WebSocket is created
wss.on('connection', socket => {
  console.log('- new websocket connection!');
  // add socket to list
  sockets.add(socket);
  // listen for message from the socket
  socket.addEventListener('message', event => {
    console.log('message received', event.data);
    // if the received message is equal to "trigger-input", loop though
    // all the connected sockets to dispatch the "trigger-output" message
    if (event.data === 'trigger-input') {
      sockets.forEach(socket => {
        socket.send('trigger-output');
      });
    }
  });
  // delete socket from the list when it is closed
  socket.addEventListener('close', () => {
    sockets.delete(socket);
  });
});
Finally, let's go back to our client-side to make the client react to the "trigger-output" message:
// main.js
const audioContext = new AudioContext();
await resumeAudioContext(audioContext);

const buffer = await loadAudioBuffer('./assets/sample.wav', audioContext.sampleRate);

socket.addEventListener('message', event => {
  const src = audioContext.createBufferSource();
  src.buffer = buffer;
  src.connect(audioContext.destination);
  src.start();
});
And congrats! You now have a working simple distributed application.
Conclusion
This tutorial just showed you how simple it is to use WebSocket to create a distributed application, however it also gives you an idea of the problem you might encounter when using the raw WebSocket API.
Indeed, the API is rather low-level, e.g. implies to send messages as raw strings, to route them all manually. In this application, the messages where deliberately simple, but what if we want to send some variables (e.g. some frequency values) or more complex data structure?
Another issue is that the application is completely stateless, meaning there is no history of what happened in the past which can be an issue in more complex situations: for example, you want your clients to playback a sound file all together, but one of them just connected after the event was send, what should we do in such case?
soundworks is designed to hopefully help handle such more complex cases in simple manner.